
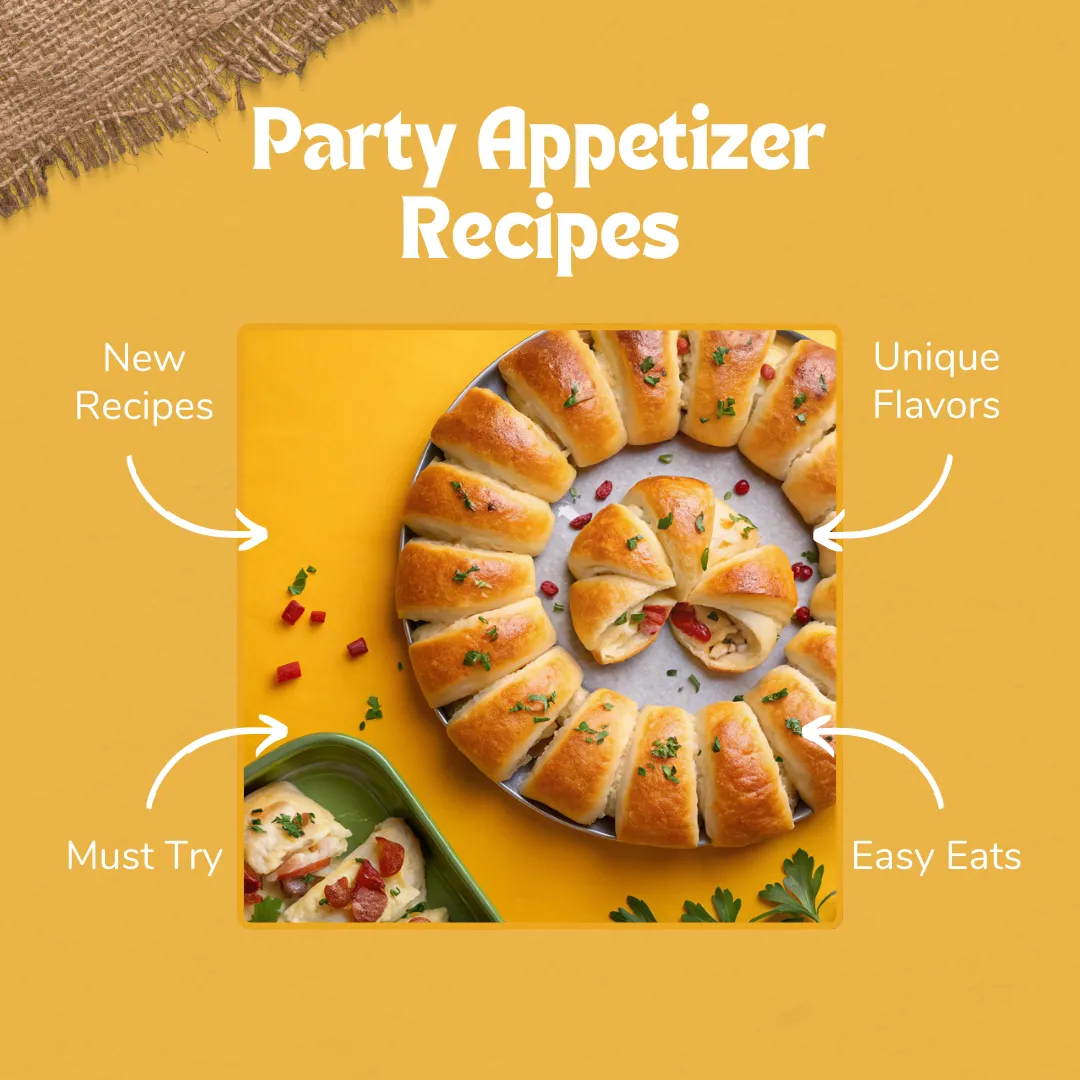
What is the anatomy of a truly perfect and legendary party appetizer? It has to be incredibly easy to make, simple for guests to eat while they are mingling, and so unbelievably delicious that it completely vanishes from the platter in just a matter of minutes. It is the kind of food that gets the party started on the most delicious note.
Now, imagine a warm, flaky, and buttery crescent roll, wrapped around a rich and savory filling of creamy cream cheese, salty, crispy bacon, and gooey, melted cheddar cheese. It’s a golden-brown little pocket of pure, unadulterated comfort food. It is literally the perfect bite.
Today, we are making these incredible Cheesy Bacon Crescent Rolls. This simple recipe is your new secret weapon for creating the easiest and most addictive appetizer you will ever make. Get ready to be asked for the recipe all night long.
The Ultimate Crowd-Pleaser: Easy Crescent Roll Appetizer
This Easy Crescent Roll Appetizer is the ultimate crowd-pleaser for any gathering. The recipe brilliantly uses a can of refrigerated crescent roll dough as a shortcut to create a flaky, buttery pastry without any of the work. The savory, creamy, and cheesy bacon filling is a classic flavor combination that is completely and utterly irresistible.
A Perfect Quick Party Food for Simple Savory Snacks
You will find that this is the perfect quick party food. The entire recipe comes together in under 30 minutes from start to finish, making it a true lifesaver for a last-minute get-together. It is also one of the absolute best simple savory snacks, as its cheesy, buttery flavor is a guaranteed hit with both kids and adults alike.
Your Guide: What Can I Make With a Can of Crescent Rolls?
For anyone wondering what can I make with a can of crescent rolls, you will be amazed at just how versatile that little tube of dough can be. You can use it to make quick and easy pigs in a blanket by wrapping the dough around mini sausages. As this brilliant recipe shows, crescent rolls are also the perfect vessel for a creamy filling; you simply unroll the dough, spread it with a delicious mixture like our cheesy bacon filling, and roll it back up for a quick and impressive baked treat.
Why You’ll Love These Cheesy Bacon Crescent Rolls
You are going to love this recipe because it is a ridiculously easy, nearly foolproof appetizer that tastes like you spent hours in the kitchen. You’ll also adore the incredible flavor combination of the salty bacon, the creamy cheese filling, and the buttery, flaky crescent roll. Plus, they are a guaranteed hit that will be the first thing to disappear from any party or potluck spread.
Nutritional Benefits
While this is certainly a wonderfully cheesy and indulgent treat, making it at home is always a fun and fantastic choice. You get to use high-quality, real ingredients like real block cheese and crispy bacon. It’s the perfect, simple comfort food for sharing with your friends and family during a happy celebration.
Full Recipe

Are you ready to create the easiest and most popular appetizer that will be the star of your next party? This detailed guide will walk you through the unbelievably simple process for creating these flaky and flavour-packed crescent rolls. Get ready to master a new go-to recipe that will make you an entertaining legend.
When you need a guaranteed hit, these Cheesy Bacon Crescent Rolls are the answer. Flaky crescent roll dough is filled with a savory mixture of cream cheese, bacon, and cheddar, then baked to golden perfection. This is one of those easy appetizer recipes that is incredibly delicious.
Prep Time: 15 minutes | Cook Time: 15 minutes | Total Time: 30 minutes | Yield: 8 rolls | Category: Appetizer, Snack | Method: Baking | Cuisine: American | Diet: N/A
Essential Ingredients for Cheesy Bacon Crescent Rolls
This crowd-pleasing party appetizer comes together with just a handful of simple ingredients.
- Crescent Roll Dough: 1 can (8 oz / 225g) of refrigerated crescent roll dough
- Cream Cheese: 4 oz (½ block) of cream cheese, softened
- Bacon: 6 slices of bacon, cooked until crispy and crumbled
- Cheese: ½ cup of shredded sharp cheddar cheese
- Aromatics: 2 tablespoons of chopped green onions or chives
Ingredients Notes
A little more detail on our key ingredients will ensure your crescent rolls are a spectacular success.
- The Crescent Roll Dough: This is our secret weapon for an easy and impressive appetizer. You will want to use a standard, 8-count can of refrigerated crescent roll dough. For the best result, it is important to keep the dough chilled right up until you are ready to use it.
- The Cream Cheese: For the absolute creamiest and smoothest filling with no lumps, it is essential that you use a block-style, full-fat cream cheese. It is also a non-negotiable step that it must be fully softened to room temperature so that it can be easily mixed and spread.
- The Bacon: Cooking your bacon until it is nice and crispy is a key step for the best texture. This ensures that it will stay crunchy in the filling and provide a wonderful, salty contrast to the creamy cheeses. You can cook your bacon on the stovetop, or for easier cleanup, you can bake it in the oven.
- The Cheddar Cheese: A good, sharp cheddar cheese will provide the best, boldest flavor that stands up to the rich cream cheese and salty bacon. For the best melting and the gooiest texture, it is always recommended to buy a block of cheese and shred it yourself.
How to Make a Potluck Pleaser
Let’s walk through the incredibly simple steps to create these perfect, cheesy appetizer bites.
- Step 1: Prepare Your Oven and Dough. First, preheat your oven to 190°C (375°F). Line a large baking sheet with parchment paper. Unroll your can of crescent roll dough and separate it into the 8 pre-cut triangles.
- Step 2: Create the Cheesy Bacon Filling. In a medium bowl, combine the softened cream cheese, the crumbled crispy bacon, the shredded cheddar cheese, and the chopped green onions.
- Step 3: Mix the Filling. Use a fork or a small spatula to mix all the filling ingredients together until they are well combined into a thick, savory spread.
- Step 4: Fill and Roll the Crescents. Spread about one tablespoon of the prepared cheese and bacon mixture evenly over the surface of each crescent roll triangle. Starting from the wide end, roll up each triangle into the classic crescent shape.
- Step 5: Bake to Golden Perfection. Arrange the filled crescent rolls on your prepared baking sheet, leaving a little space between them. Bake for 12 to 15 minutes, or until the crescent rolls are beautifully puffed up, golden brown, and the cheese is slightly bubbly.
- Step 6: Cool and Serve. Let the cheesy bacon crescent rolls cool on the baking sheet for a few minutes before you transfer them to a serving platter. Serve them warm.
Storage Options
These delicious cheesy bacon crescent rolls are at their absolute best when they are served fresh and warm from the oven, while the pastry is at its flakiest. If you have any leftovers, you can store them in an airtight container in the refrigerator for up to 3 days. To reheat, the best method is to use an air fryer or a toaster oven for a few minutes to bring back their wonderful crispy texture.
Variations and Substitutions
This incredibly simple recipe is a perfect blank canvas for your own creative additions. For a bit of a spicy kick, you can add a finely diced jalapeño or a pinch of red pepper flakes to your cream cheese mixture. You can also use other delicious meats in place of the bacon, such as some crumbled breakfast sausage or some finely chopped ham. For a different flavor profile, feel free to use other cheeses like a pepper jack for some spice or a nutty Gruyère.
Practical & Valuable Tips
For the absolute creamiest filling, make sure your cream cheese is fully softened to room temperature before you begin mixing. Be careful not to overfill your crescent rolls, as the cheesy filling can bubble out during baking if there is too much. Finally, for a beautiful, extra golden-brown finish, you can brush the tops of the unbaked crescent rolls with a simple egg wash before you put them in the oven.
Frequently Asked Questions
- Can I make these ahead of time? Yes, this is a great make-ahead appetizer. You can fully assemble the unbaked crescent rolls, place them on your baking sheet, cover them with plastic wrap, and store them in the refrigerator for up to 24 hours. When you are ready, you can simply bake them straight from the fridge, adding just a minute or two to the baking time.
- Can I freeze these crescent rolls? Yes, these freeze beautifully. The best method is to freeze the unbaked, assembled rolls in a single layer on a baking sheet. Once they are frozen solid, you can transfer them to a freezer-safe zip-top bag for up to 3 months and bake them directly from frozen, adding a few extra minutes to the baking time.
- Can I use a different kind of filling? Of course! The crescent roll dough is a perfect vessel for all sorts of delicious fillings. You could try a sweet filling of cream cheese and fruit jam, or a savory filling of spinach and feta cheese.
- My filling leaked out while baking. What did I do wrong? This usually happens if the crescent rolls were overfilled, or if the seams were not well sealed. Be sure to use just about a tablespoon of filling for each roll and to pinch the edges of the dough gently as you roll it up to create a good seal.
- What is the best way to serve these for a party? These savory bites are fantastic served warm on a platter, all on their own. However, they are also absolutely incredible served with a side of a simple ranch dressing or a marinara sauce for dipping.
Conclusion
These Cheesy Bacon Crescent Rolls are the ultimate solution for a fast, easy, and incredibly impressive appetizer. It’s a recipe that proves you don’t need a lot of ingredients or complicated steps to create a treat that is flaky, cheesy, and completely irresistible. It is a foolproof, satisfying recipe that is guaranteed to be the first thing to disappear at your next party or potluck. This is one of those easy appetizer recipes. If you love this simple and delicious party food, don’t forget to share it and save it to your favorite appetizer recipes board on Pinterest!


Leave a Comment