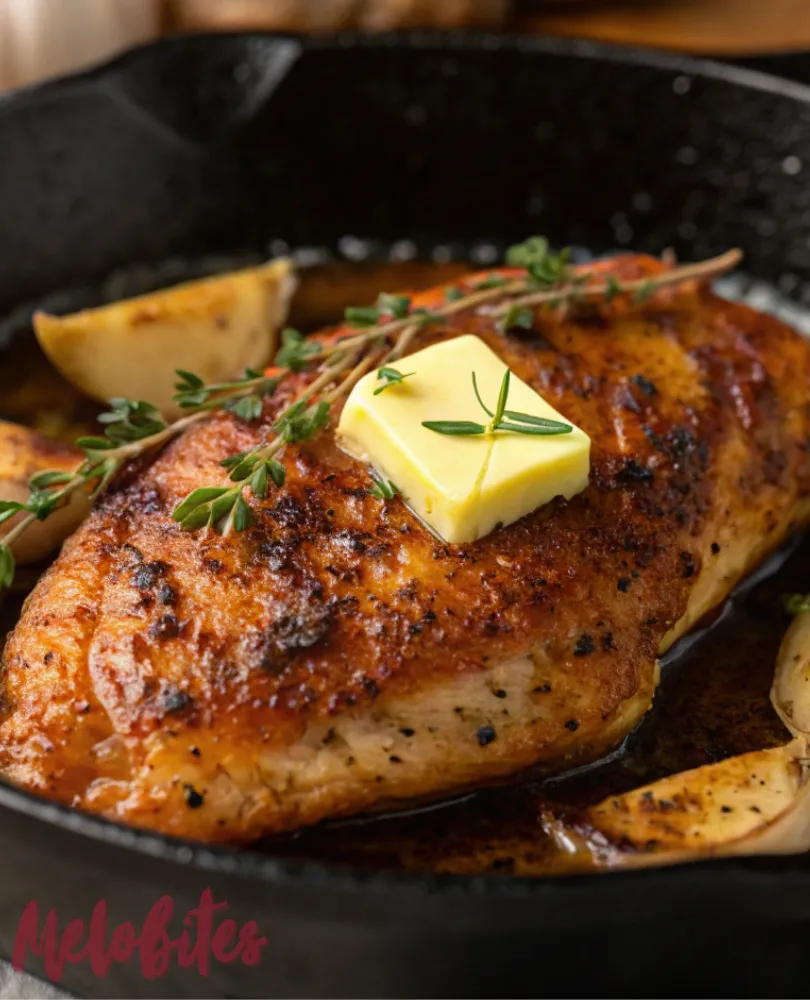
Picture this: you place a piece of seasoned chicken into a skillet, hoping for that roaring, satisfying sizzle you see on cooking shows. Instead, you get a weak, sad hiss. The result after a few minutes of hopeful cooking? A pale, slightly rubbery chicken breast with a crust that’s nowhere to be found.
If you’ve ever felt the disappointment of a lackluster pan-fry, you are not alone. Achieving that perfect, golden-brown, crispy crust on a chicken breast can feel like an elusive mystery, a secret that only restaurant chefs are in on. But today, we are pulling back the curtain and sharing that secret with you.
It turns out, the path to a perfectly crisp, incredibly juicy, and lightning-fast chicken dinner isn’t complicated at all. It just requires a few key techniques that anyone can master. Get ready to unlock the power of your skillet and make the best pan-fried chicken of your life.
Why This Pan-Fried Chicken Breast Recipe Is a Game-Changer
A pan-fried chicken breast recipe is one of the most fundamental skills in a home cook’s arsenal. It’s the epitome of quick, versatile protein. This specific recipe is a game-changer because it focuses entirely on the technique that guarantees a delicious outcome: a super-crispy exterior that locks in all the juices for a tender, moist interior.
We’re moving beyond simply “cooking” the chicken and into the realm of building texture and flavor from the outside in. By understanding the simple science of a hot pan, a dry surface, and the right seasoning, you transform a basic ingredient into a masterpiece. This method is your ticket to faster, more flavorful weeknight meals.
Achieving the Perfect Crispy Chicken Breast for Quick Weeknight Dinners
Let’s face it, on a busy weeknight, speed and satisfaction are the ultimate goals. This is where a perfectly crispy chicken breast truly shines, making it the hero of all quick weeknight dinners. Because we cook it fast over high heat, it’s on your plate in under 15 minutes.
That crave-able crispy texture makes a simple meal feel special and satisfying, whether you’re serving it as the main course or slicing it over a salad. It’s the kind of quick-cooking magic that can save you from the takeout menu. Mastering this one skill means you always have a delicious, high-protein dinner option just minutes away.
The Answer to ‘How to Get a Good Crust on Chicken Breast?’
This is the golden question, and the answer is a simple, three-part formula. The first secret to getting a good crust on chicken is ensuring the surface is bone-dry. Moisture is the enemy of crispiness; it creates steam, which is the opposite of the searing we want.
Second, the chicken must be an even thickness, which allows it to cook quickly and uniformly without the thinner parts overcooking before the thicker parts are done. Finally, the magic happens with a properly preheated pan and the right kind of fat. A hot pan ensures that the moment the chicken makes contact, the crust begins to form instantly, creating that beautiful golden-brown sear.
Why This Crispy Skillet Chicken Will Be Your New Favorite
- The Unbeatable Crust: This technique guarantees a perfectly golden, crispy, and flavorful crust every single time.
- Ready in a Flash: From prep to plate, you can have this chicken ready in less than 15 minutes.
- Juicy and Tender Interior: The crust doesn’t just taste good; it locks in moisture, ensuring the chicken inside is perfectly tender.
- Uses Basic Pantry Staples: You don’t need any fancy ingredients, just a few common spices and your trusty skillet.
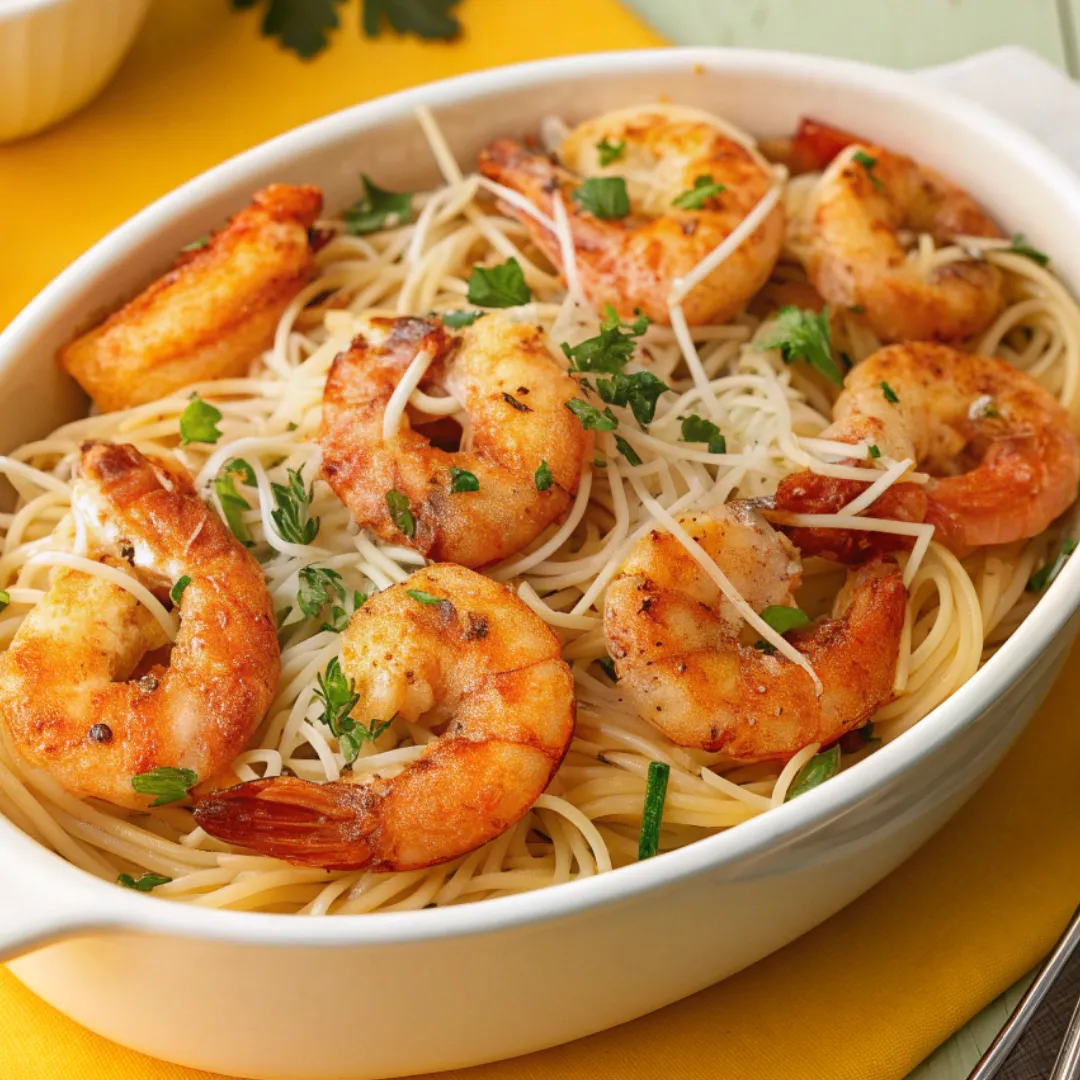
- Endlessly Versatile: It’s the perfect chicken for slicing over salads, putting in sandwiches, or serving alongside your favorite veggies.
Healthy, Fast, and Incredibly Versatile
Pan-frying often gets a bad rap, but this method is a surprisingly healthy way to prepare a delicious meal. By using just a thin layer of oil and butter in the pan, you get all the benefits of high-heat searing without the excess fat of deep-frying. It’s a fantastic way to cook a lean protein powerhouse.
Chicken breast is naturally low in fat and high in protein, which is crucial for muscle support and keeping you feeling full. Because this recipe is so simple and fast, it becomes a reliable building block for a healthy lifestyle. It’s the clean, simple protein you can turn to on your busiest days to stay on track with your wellness goals.
Full Recipe: The Perfect Pan-Fried Chicken Breast
Here is the master method for achieving skillet perfection.
Prep Time: 5 minutes | Cook Time: 8-10 minutes | Total Time: 15 minutes | Yield: 4 servings | Category: Main Course | Method: Pan-Frying | Cuisine: American | Diet: Gluten-Free
The Simple Toolkit: Essential Ingredients
- 4 medium (about 6 oz each) boneless, skinless chicken breasts, pounded to 1/2-inch even thickness
- 1 teaspoon salt
- 1/2 teaspoon black pepper
- 1 teaspoon garlic powder
- 1 teaspoon paprika (sweet or smoked)
- 1 tablespoon olive oil
- 1 tablespoon unsalted butter
Ingredient Notes
- Pounded Chicken Breasts: This is non-negotiable for this recipe. Pounding the chicken to an even 1/2-inch thickness is the only way to ensure it cooks through quickly before the outside has a chance to burn. You can buy thin-sliced cutlets to save time.
- Paprika: This is the secret to that beautiful, deep golden-brown color. Smoked paprika will add a lovely, subtle smoky flavor, while sweet paprika is more neutral.
- Oil and Butter Combo: Using both oil and butter is the key to a perfect pan-fry. The oil has a high smoke point, preventing the fat from burning, while the butter provides unmatched flavor and helps with browning.
- Salt: Seasoning the chicken well with salt not only adds flavor but also helps to draw out a tiny bit of initial moisture, contributing to a dryer surface and a better crust.
How to Make This Pan-Fried Chicken Breast Recipe (The Crispy Method)
- Prep the Chicken: The most important first step is to pat the pounded chicken breasts completely dry with paper towels. A dry surface is essential for getting a good sear.
- Season Generously: In a small bowl, mix together the salt, pepper, garlic powder, and paprika. Sprinkle the seasoning mixture evenly over all sides of the dry chicken breasts, gently pressing it into the meat.
- Heat the Skillet: Place a large skillet (cast-iron or stainless steel is best) over medium-high heat for a couple of minutes until it’s properly hot. Add the olive oil and butter. The butter should melt and sizzle immediately but not turn dark brown.
- Sear the Chicken: Carefully place the seasoned chicken breasts in the hot skillet, ensuring they are not touching. Cook for 4-5 minutes on the first side without moving them. Resisting the urge to peek allows the crust to form properly.
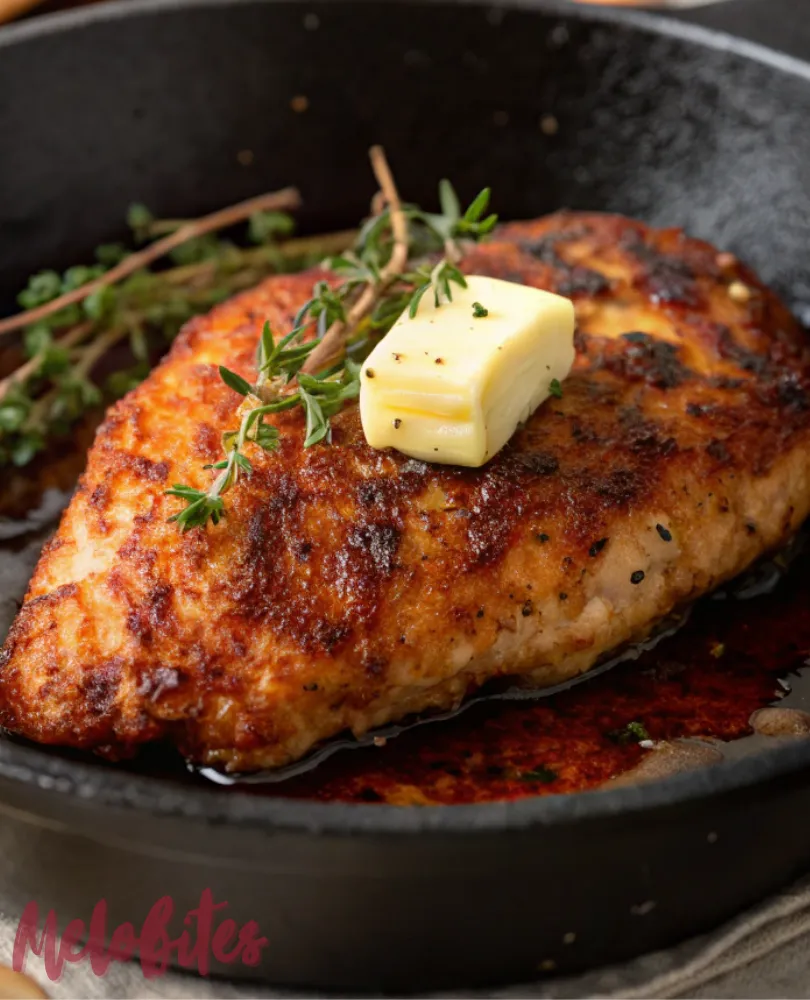
- Flip and Finish: Flip the chicken breasts. The cooked side should be a deep golden-brown. Cook on the second side for another 4-5 minutes, or until the chicken is opaque and has reached an internal temperature of 165°F (74°C) in the thickest part.
- Rest and Serve: Transfer the cooked chicken to a cutting board and let it rest for 5 minutes. This step is crucial for the juices to redistribute, ensuring a moist bite. Slice against the grain and serve immediately.
The Nashville Hot Remix: A Spicy Alternative
Want to turn up the heat? After the chicken is cooked and resting, use the same skillet with all the delicious pan drippings. Reduce the heat to low and whisk in 2 tablespoons of hot sauce (like Frank’s RedHot), 1 tablespoon of brown sugar, and 1-2 teaspoons of cayenne pepper. Brush this spicy glaze over your crispy chicken for an incredible, Nashville-inspired twist.
Storing Your Golden Chicken
Store leftover chicken in an airtight container in the refrigerator for up to 4 days. Keep in mind that the beautiful crispy crust will soften once chilled. However, the chicken will still be incredibly flavorful and juicy.
This chicken is fantastic cold, sliced thinly over salads or in a wrap. To reheat, you can warm it gently in a lightly oiled skillet over medium heat for a couple of minutes per side to try and revive some of the crust.
Play With Your Spices: Variations and Substitutions
- Cajun Kick: Swap the seasoning blend for a pre-made Cajun or Creole spice mix for a zesty, Southern-inspired flavor.
- Lemon Pepper: Use a classic lemon pepper seasoning blend for a bright and zippy taste. A squeeze of fresh lemon over the finished chicken is a perfect touch.
- Italian Herbs: Season the chicken with a mix of dried oregano, basil, and garlic powder. Finish by making a quick pan sauce with some white wine and butter.
- Light Dredge: For an even crispier, more substantial crust, you can lightly dredge the seasoned chicken in all-purpose flour or cornstarch before placing it in the pan.
The Crispy Crust Commandments: Practical & Valuable Tips
- Dry, Dry, and Dry Again: I cannot say this enough. Use paper towels to pat the chicken until it is completely free of surface moisture. This is the #1 rule for a crispy crust.
- Flatten for Success: Pounding the chicken to an even thickness ensures it cooks quickly and evenly. It’s the difference between a perfectly cooked cutlet and one that’s dry on the edges and raw in the middle.
- The Pan Must Be Hot: A hot pan is essential for an instant sear. You’ll know it’s ready when a drop of water sizzles and evaporates on contact.
- Don’t Crowd the Pan: Give each piece of chicken its own space. If they are too close together, they will steam instead of sear. Cook in batches if your pan isn’t large enough.
- Let It Be: Once you place the chicken in the pan, leave it alone. Let it sit undisturbed for the full 4-5 minutes to develop that deep, golden, beautiful crust.
Your Skillet Questions, Answered
- What is the best type of pan to use for this? A pan that retains heat well is ideal. A cast-iron skillet is the number one choice, followed closely by a heavy-bottomed stainless steel pan. Non-stick skillets can work, but they often don’t produce as deep of a crust.
- How do I know my chicken is cooked without cutting into it? The only way to be 100% sure is with an instant-read meat thermometer. Chicken is safely cooked when it reaches an internal temperature of 165°F (74°C). This tool will prevent you from ever overcooking or undercooking chicken again.
- My chicken stuck to the pan! What went wrong? Sticking is usually caused by one of two things: the pan wasn’t hot enough when you added the chicken, or you tried to flip it too early. The chicken will naturally release from the pan once a proper crust has formed.
- Why did my seasoning or butter burn? This means your heat is too high. You are looking for a strong medium-high heat, not a full-blast inferno. If you see the butter turning dark brown or the spices blackening immediately, reduce the heat slightly.
- Can I make this recipe with just oil and no butter? Yes, you can absolutely use only oil if you are dairy-free. You will still get a good crust. The butter is primarily there for its rich flavor and its ability to help the chicken brown beautifully.
You now hold the secrets to skillet success. This simple pan-fried chicken breast recipe is a technique that will empower you to create quick, delicious, and impressive meals any night of the week. Ready to master the skillet and achieve that perfect golden crust? Pin this recipe to your ‘Weeknight Dinners’ board and become a kitchen hero!


Leave a Comment