Hey there, fellow food lovers! Are you on the eternal quest for dinner recipes that are quick, don’t require a culinary degree, yet taste like you’ve been slaving away in the kitchen for hours? Yeah, me too. And let me tell you, I think I’ve found one of the crown jewels of simple, satisfying meals: this unbelievably easy chicken legs recipe. We’re talking minimal fuss, maximum flavor, and results that’ll have everyone at the table reaching for seconds (and maybe even thirds – no judgment here!).
Chicken legs, often overlooked for their breast meat counterparts, are, in my humble opinion, little nuggets of joy. They’re budget-friendly, forgiving to cook, and oh-so-juicy. Whether you call them drumsticks or just “the good part of the chicken,” we’re about to transform these humble pieces into a weeknight hero. Forget complicated marinades that need hours to work their magic or intricate cooking techniques. This recipe is all about simplicity and letting good ingredients shine. Ready to make some magic? Let’s get those ovens preheated!
Why You’ll Absolutely Love This Easy Chicken Legs Recipe
So, what makes this particular easy chicken legs recipe stand out from the crowd? Why will it become a staple in your meal rotation? Oh, let me count the ways! It’s not just about being easy; it’s about a whole lot more.
The Perfect Weeknight Wonder
Picture this: it’s Tuesday. You’ve had a long day, the kids are hungry (or maybe you’re just really hungry), and the thought of spending an hour prepping dinner feels like climbing a mountain. Sound familiar? This recipe is your superhero cape. With minimal prep – we’re talking maybe 10 minutes, tops – and a mostly hands-off cooking time, you can actually relax while dinner practically makes itself. It’s the kind of recipe that saves you from the dreaded takeout spiral.
Plus, clean-up is a breeze! Often, everything can be done on one baking sheet, especially if you line it with parchment paper (which I wholeheartedly recommend). Less time scrubbing pots and pans means more time for, well, anything else you’d rather be doing. It’s the gift that keeps on giving, even after the plates are cleared. Isn’t that what we all dream of on a busy evening?
Crowd-Pleasing Flavor for Everyone
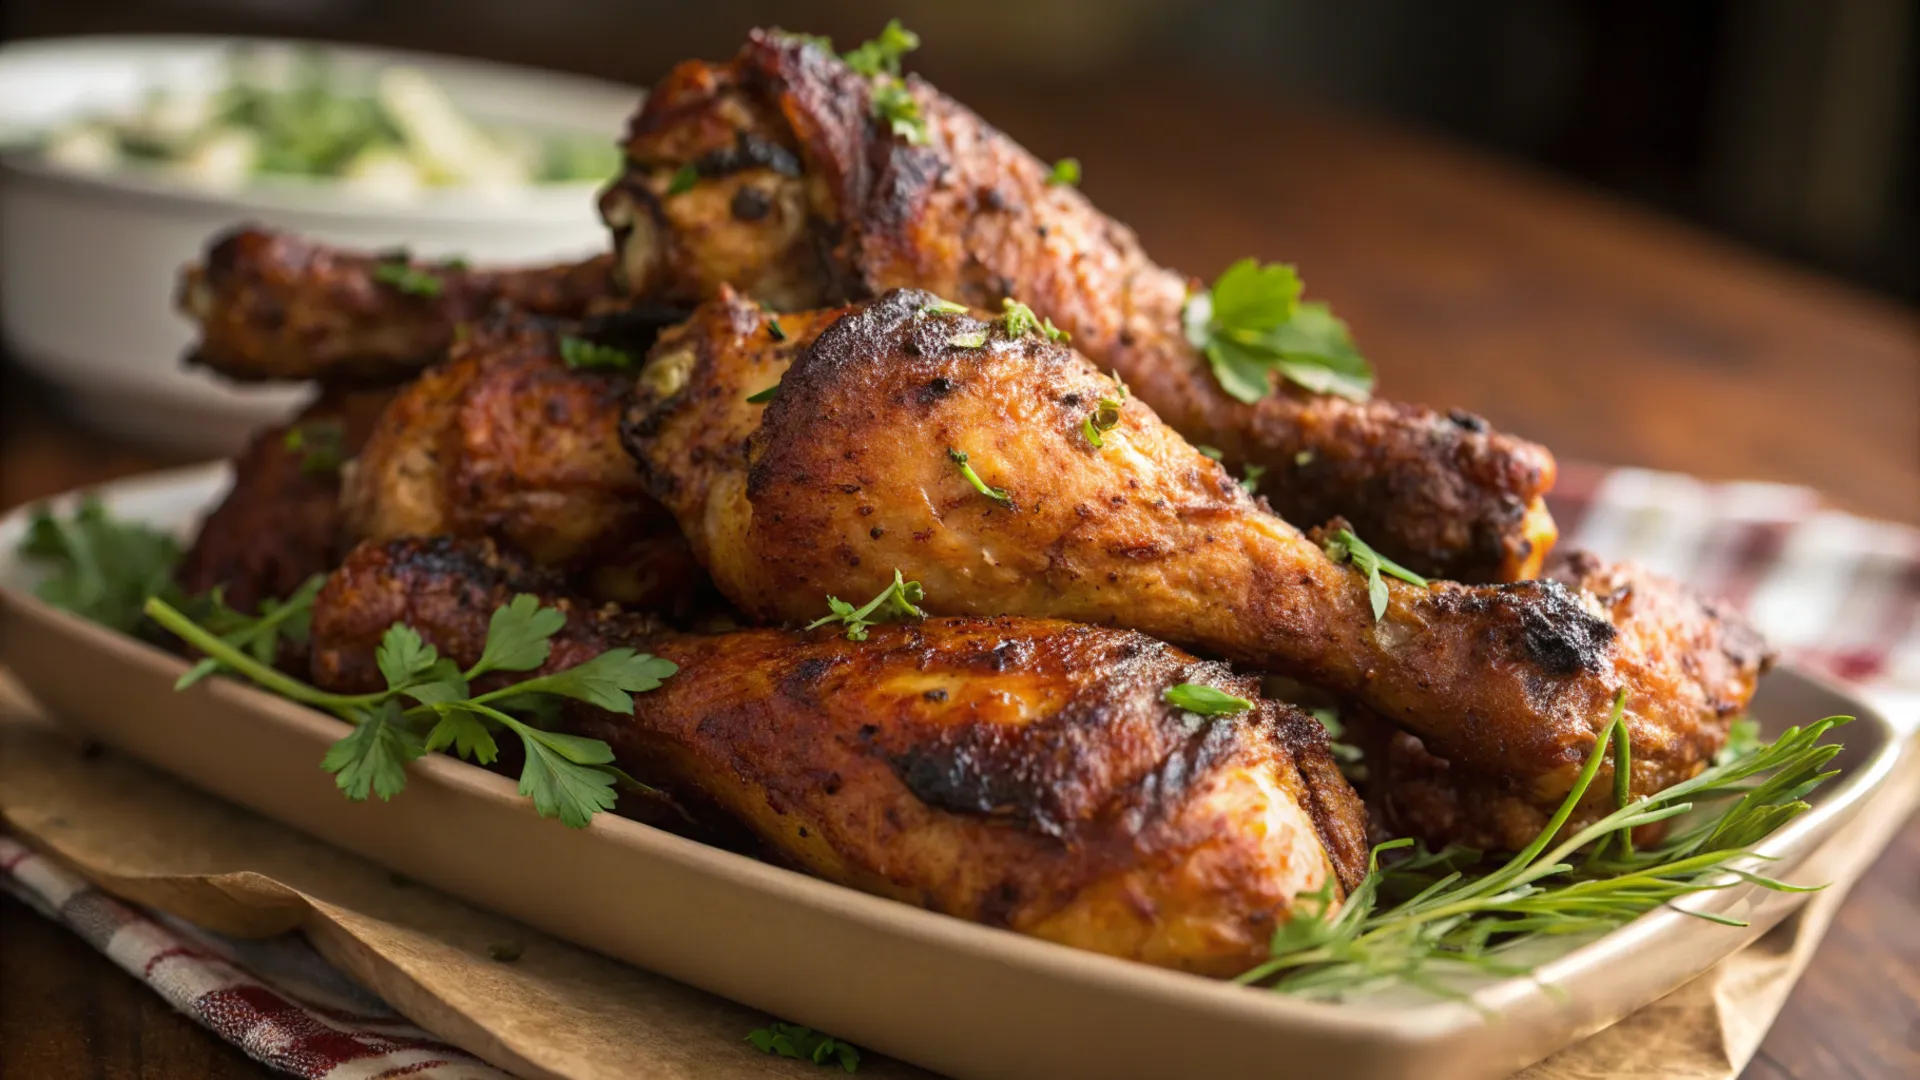
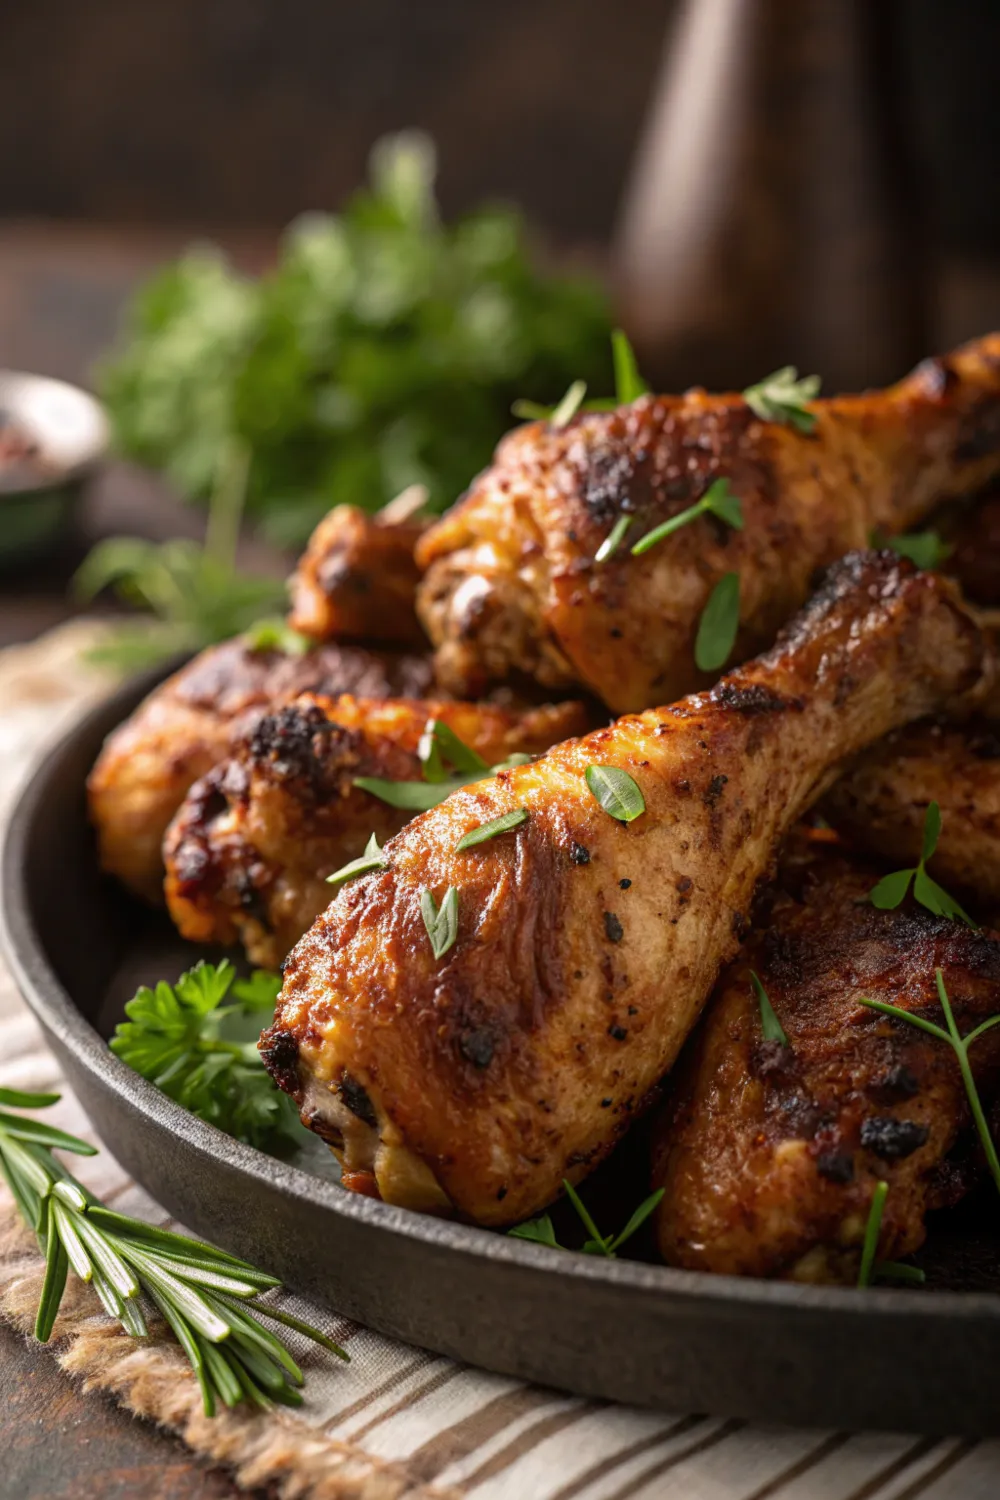
One of the best things about this easy chicken legs recipe is its universal appeal. The seasoning blend is savory, a little smoky, and just utterly delicious without being overpowering or too spicy for sensitive palates. It creates that beautiful, golden-brown, crispy skin that everyone covets, while keeping the meat inside incredibly moist and tender. It’s like a flavor hug in chicken form!
Kids love it because, well, it’s chicken legs – fun to eat and super tasty. Adults love it because it’s satisfying and pairs well with almost any side dish you can think of. Whether you’re feeding a family, cooking for one, or having a casual get-together with friends, these chicken legs are guaranteed to be a hit. They’re a simple, unpretentious pleasure, and sometimes, that’s the most satisfying kind of meal, isn’t it?
Gathering Your Arsenal: Essential Ingredients for Your Easy Chicken Legs Recipe
Alright, now that I’ve hopefully convinced you that you need these chicken legs in your life, let’s talk about what you’ll need to make them. The beauty of this easy chicken legs recipe is its short and sweet ingredient list. No obscure items that you’ll use once and then banish to the back of the pantry!
The Stars of the Show (Ingredients List)
- Chicken Legs (Drumsticks): About 6-8 pieces, bone-in and skin-on are essential for the best flavor and juiciness.
- Olive Oil: 2 tablespoons, or enough to lightly coat the chicken. Avocado oil works great too.
- Salt: 1 teaspoon of kosher salt or 3/4 teaspoon of fine sea salt (adjust to your taste).
- Black Pepper: 1/2 teaspoon freshly ground, please! It makes a difference.
- Paprika: 1 teaspoon (smoked paprika is amazing here if you have it, but sweet paprika is great too).
- Garlic Powder: 1 teaspoon.
- Onion Powder: 1/2 teaspoon.
- Optional Dried Herbs: 1/2 teaspoon of dried thyme or oregano, or a mix, can add a lovely aromatic touch.
A Little Bit About Your Ingredients (Notes)
- Chicken Legs: When you’re picking out your chicken legs, look for ones that are plump and have intact skin. The skin is key to getting that crispy exterior we all crave. Bone-in, skin-on isn’t just a suggestion here; it’s crucial for moisture and flavor. Trust me on this one!
- Olive Oil: A good quality olive oil will add a subtle fruity note. If you’re using avocado oil, it’s great for its high smoke point, though we’re not cooking at super extreme temperatures here. The oil helps the skin crisp up and allows the spices to adhere beautifully.
- Salt: Don’t underestimate the power of salt! It doesn’t just make things salty; it enhances all the other flavors. Kosher salt has larger crystals and is less “salty” by volume than table salt, making it easier to control. If using table salt, reduce the amount slightly.
- Spices: The combination of paprika, garlic powder, and onion powder is a classic for a reason – it’s simply delicious on chicken. If you’re feeling adventurous, smoked paprika will lend a wonderful, deep, smoky flavor that makes the chicken taste almost like it’s been grilled. Feel free to adjust the amounts based on your preference. Love garlic? Add a touch more!
Let’s Get Cooking: Your Step-by-Step Guide to This Perfect Easy Chicken Legs Recipe
This is where the magic happens! But don’t worry, there are no complicated spells or incantations involved. Just a few simple steps stand between you and perfectly cooked, delicious chicken legs. Shall we get our hands dirty (figuratively, mostly)?
Prepping for Perfection
- Preheat your oven: First things first, get that oven preheating to 400°F (200°C). This ensures the chicken starts cooking immediately and helps achieve that glorious crispy skin. Line a baking sheet with parchment paper for easy cleanup. You can use foil, but parchment is better for preventing sticking without needing extra oil.
- Pat the chicken dry: Take your chicken legs out of the packaging and pat them thoroughly dry with paper towels. This is a super important step! Excess moisture on the skin will steam the chicken instead of allowing it to crisp up. Think of it like trying to get a good sear on a wet steak – it just doesn’t work as well.
- Oil ’em up: Place the dried chicken legs in a bowl or directly on the prepared baking sheet. Drizzle them with olive oil. Use your hands (clean ones, of course!) to rub the oil all over each drumstick, ensuring they are evenly coated. This helps the spices stick and, again, promotes crispiness.
- Season generously: In a small bowl, mix together your salt, black pepper, paprika, garlic powder, onion powder, and any optional dried herbs. Sprinkle this seasoning mixture evenly over all sides of the oiled chicken legs. Don’t be shy! You want every bite to be flavorful. I like to use my hands for this too, to really rub the spices in.
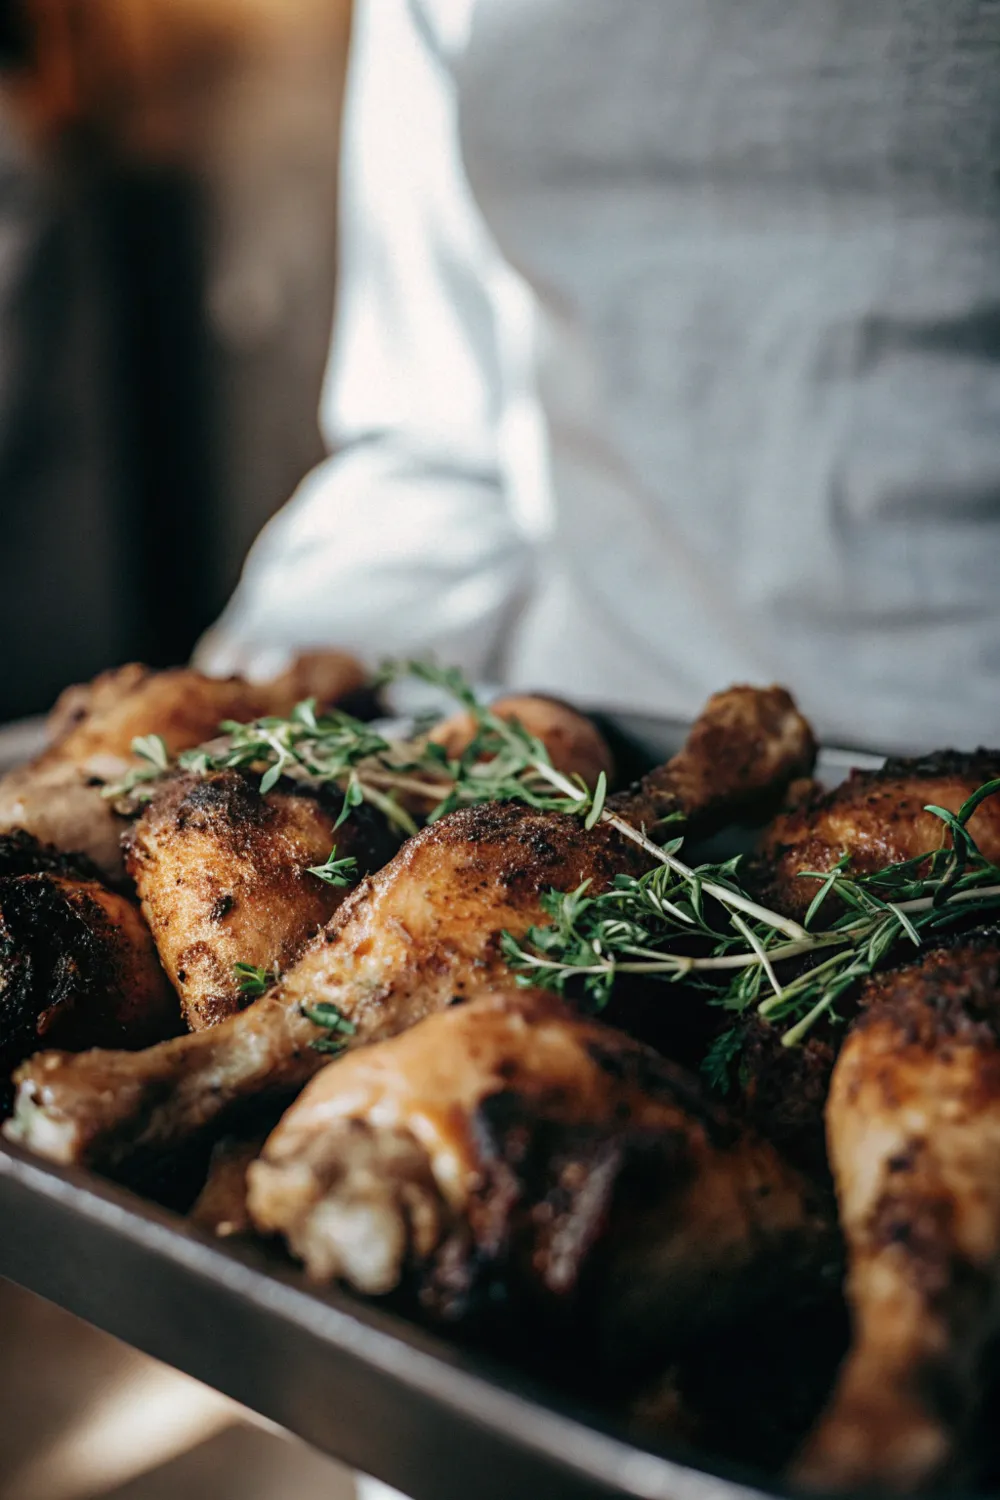
Baking to Golden Crispy Goodness
- Arrange on the baking sheet: Place the seasoned chicken legs on the prepared baking sheet, making sure they have a little space between them. Don’t overcrowd the pan! If they’re too close together, they’ll steam each other, and we’ll lose our crispy skin potential. It’s better to use two baking sheets if necessary.
- Bake time!: Slide that baking sheet into your preheated oven. Bake for 35-45 minutes. The exact time will depend on the size of your chicken legs and the temperament of your oven (they all have their little quirks, don’t they?).
- Check for doneness: The chicken legs are cooked when the internal temperature reaches 165°F (74°C) in the thickest part of the meat, without touching the bone. Use a meat thermometer for accuracy – it’s your best friend for perfectly cooked chicken. The juices should also run clear when pierced with a fork. The skin should be beautifully golden brown and crispy.
- Optional: Broil for extra crispiness (use with caution!): If you want even crispier skin (and who doesn’t?), you can switch the oven to the broil setting for the last 2-3 minutes of cooking. Keep a very close eye on them, as the broiler can take things from crispy to burnt in a heartbeat! Stay by the oven and watch them like a hawk.
- Rest a bit: Once cooked, take the chicken legs out of the oven and let them rest on the baking sheet for about 5-10 minutes before serving. This allows the juices to redistribute throughout the meat, resulting in a much juicier and more flavorful bite. It’s tempting to dive right in, I know, but patience pays off!
Beyond the Bake: Storage, Variations, and More for Your Easy Chicken Legs Recipe
So you’ve mastered the art of the perfect easy chicken legs recipe! What now? Well, let’s talk about how to keep them tasting great, and how you can switch things up if you’re feeling creative. Because even the best recipes can use a little twist now and then, right?
Keeping Your Chicken Legs Delicious (Storage Options)
Got leftovers? Lucky you! These chicken legs are fantastic the next day. To store them, allow the chicken to cool completely to room temperature first. This helps prevent condensation from making the skin soggy when you store it. Once cooled, place the chicken legs in an airtight container or wrap them tightly in foil or plastic wrap. They’ll keep well in the refrigerator for 3-4 days.
If you want to store them for longer, freezing is a great option. Wrap individual chicken legs tightly in plastic wrap, then in foil, or place them in a freezer-safe zip-top bag, squeezing out as much air as possible. They can be frozen for up to 3 months for best quality. To reheat, you can pop them in a 350°F (175°C) oven until heated through, usually about 15-20 minutes from chilled, or a bit longer from frozen. Using the oven (or even an air fryer) is much better than the microwave for maintaining some of that lovely crispiness.
Mix It Up! Fun Variations and Smart Substitutions
This easy chicken legs recipe is a fantastic base, but feel free to get creative and make it your own! Here are a few ideas to get you started:
- Spice World:
- BBQ Bliss: Skip the current spice blend. After oiling, brush the chicken legs with your favorite BBQ sauce before baking. You might want to add another layer of sauce during the last 10 minutes of cooking.
- Lemon Herb Delight: Mix the olive oil with the zest and juice of one lemon, a couple of cloves of minced fresh garlic, and a tablespoon of fresh chopped rosemary or thyme. Season with salt and pepper.
- Spicy Kick: Add 1/4 to 1/2 teaspoon of cayenne pepper or a teaspoon of chili powder to your spice blend. You could also add a few dashes of your favorite hot sauce to the oil before coating the chicken.
- Italian Flair: Use Italian seasoning blend instead of or in addition to the thyme/oregano. A sprinkle of Parmesan cheese in the last 10 minutes of baking could be amazing too!
- Sweet & Savory: Add a tablespoon of brown sugar to your spice mix for a hint of caramelization and sweetness.
- Different Chicken Parts?: While this recipe is designed for chicken legs (drumsticks), the seasoning and method would also work beautifully on chicken thighs (bone-in, skin-on would be best, adjust cooking time as thighs might cook a bit faster or slower depending on size). For chicken breasts, you’d need to significantly reduce cooking time to avoid drying them out.
- Veggies on the Side (Sheet Pan Meal!): Why not make it a one-pan meal? Chop up some sturdy vegetables like potatoes, carrots, bell peppers, or broccoli. Toss them with a little olive oil, salt, and pepper, and arrange them around the chicken legs on the baking sheet. They’ll roast alongside the chicken and soak up some of those delicious juices. You might need a larger pan or two pans for this.
Don’t be afraid to experiment! The kitchen is your playground. What delicious concoctions will you come up with?
FAQ
Q1: Can I use chicken thighs instead of drumsticks for this recipe?
A1: Absolutely! Bone-in, skin-on chicken thighs would work wonderfully with this recipe. The seasoning will be just as delicious. Keep in mind that cooking times might vary slightly depending on the size of the thighs, so use a meat thermometer to ensure they reach an internal temperature of 165°F (74°C).
Q2: How do I know when the chicken legs are fully cooked without a thermometer?
A2: While a meat thermometer is the most accurate way, you can check for doneness by piercing the thickest part of the chicken leg with a fork or a knife. The juices should run clear, not pink. If you see any pinkness in the meat or the juices, it needs more time in the oven. The skin should also be golden brown and crispy.
Q3: Can I make these chicken legs in an air fryer?
A3: Yes, you definitely can! Air fryers are fantastic for making crispy chicken. Preheat your air fryer to around 380°F (193°C). Place the seasoned chicken legs in the air fryer basket in a single layer (you may need to cook in batches). Air fry for about 20-25 minutes, flipping halfway through, until the internal temperature reaches 165°F (74°C) and the skin is crispy.
Q4: What are some good side dishes to serve with these chicken legs?
A4: These chicken legs are super versatile! They pair well with almost anything. Some great options include roasted vegetables (like potatoes, carrots, broccoli, or Brussels sprouts), mashed potatoes, rice pilaf, a fresh green salad, coleslaw, corn on the cob, or mac and cheese for a truly comforting meal.
Q5: How can I get extra crispy skin on my chicken legs?
A5: There are a few tricks! First, make sure to pat the chicken skin thoroughly dry with paper towels before oiling and seasoning. Second, don’t overcrowd the baking sheet. Give the chicken legs space so the hot air can circulate. Third, ensure your oven is properly preheated. For an extra crisp boost, you can switch your oven to the broil setting for the last 2-3 minutes of cooking, but watch them very carefully to prevent burning. Adding a tiny bit of baking powder (about 1/4 tsp for this amount of chicken) to your spice mix can also help draw out moisture and increase crispiness!
Conclusion
And there you have it – your new secret weapon for conquering weeknight dinners (and weekend cravings, for that matter!): the truly easy chicken legs recipe. With just a handful of common ingredients and ridiculously simple steps, you can whip up a batch of chicken that’s bursting with flavor, boasting irresistibly crispy skin, and tender, juicy meat. It’s proof that amazing food doesn’t need to be complicated or time-consuming.
So, what are you waiting for? Grab those chicken legs, raid your spice rack, and get ready to impress yourself and anyone lucky enough to be sharing your table. I have a feeling this recipe will quickly become a favorite in your household, just as it has in mine. Happy cooking, and don’t forget to enjoy every delicious bite! Let me know in the comments how your chicken legs turn out – I’d love to hear about your culinary triumphs!


Leave a Comment