Hey there, fellow foodies! Are you tired of staring into the fridge, wondering what to whip up for dinner after a long day? Do you dream of delicious, homemade meals without the fuss of hours in the kitchen? Well, my friends, I’m here to tell you that your culinary savior might just be that humble, pre-cooked rotisserie chicken from your local grocery store. Seriously, it’s a game-changer! We all know the struggle: you get home, you’re hungry, and the last thing you want to do is spend an hour prepping and cooking. This is where the magic of rotisserie chicken truly shines. It’s not just for eating straight out of the container (though, let’s be honest, we’ve all done that!). This golden, juicy bird is the ultimate shortcut to countless incredible meals. Are you ready to transform your dinner routine? Let’s dive in!
Why You’ll Love Rotisserie Chicken for Dinner
The Ultimate Time-Saver
Let’s face it, time is a precious commodity. And when it comes to dinner, anything that shaves off minutes (or even hours!) of cooking time is a win in my book. Think about it: no raw chicken to handle, no seasoning, no roasting for an hour or more. Your rotisserie chicken is already perfectly cooked and seasoned, ready to be shredded, diced, or pulled into whatever magnificent creation you envision. It’s like having a sous chef who’s already done all the hard work for you. Isn’t that just the best feeling? Imagine walking in the door and having a delicious, homemade meal on the table in 15-30 minutes, instead of an hour. That’s the power of rotisserie chicken, my friends. It frees up your evenings for more important things, like relaxing or spending time with loved ones.
Flavor You Can Build On
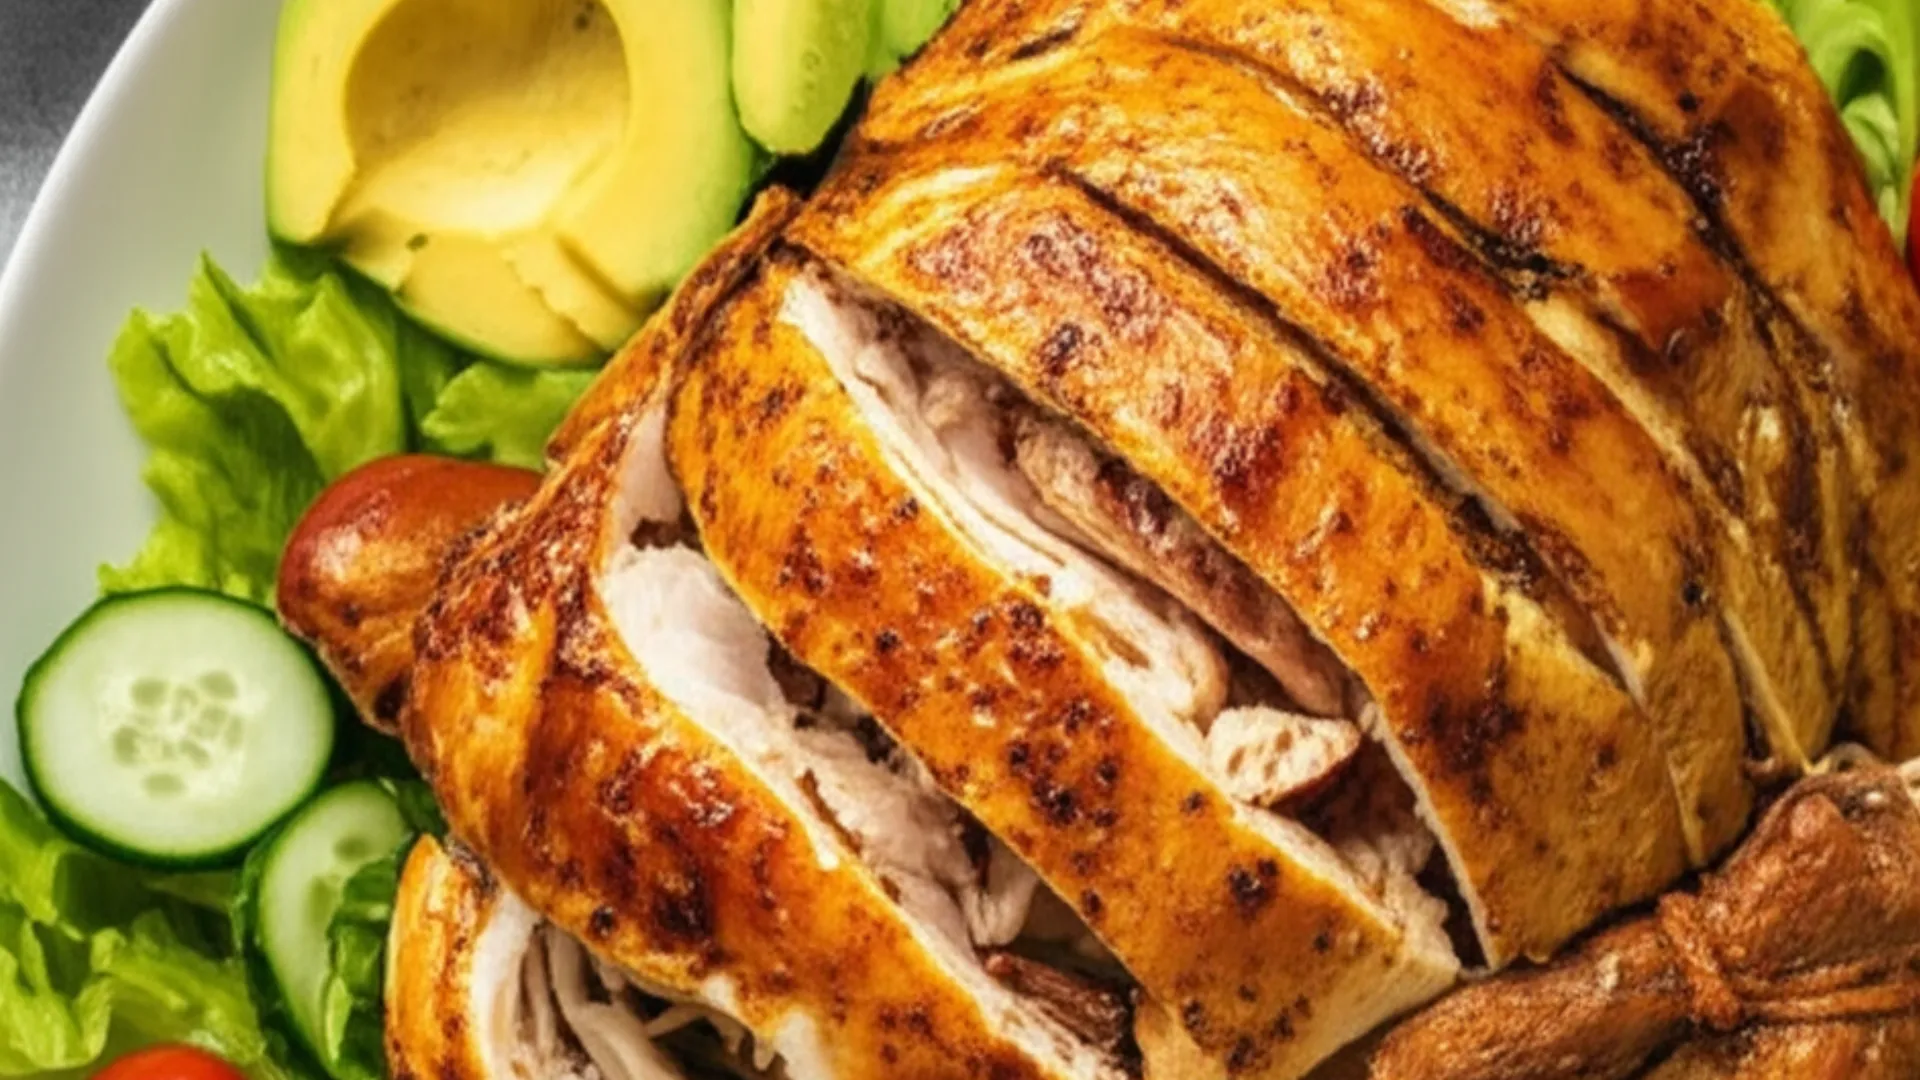
One of the often-overlooked benefits of rotisserie chicken is its inherent deliciousness. Those perfectly browned, seasoned skins and juicy meat are a fantastic foundation for so many different flavors. It’s not just plain chicken; it brings a savory depth that elevates whatever dish you’re making. Think of it as a blank canvas, but one that already has a beautiful base coat. You can take that savory goodness and push it in so many directions – Italian, Mexican, Asian, classic American comfort food… the possibilities are truly endless. This built-in flavor means you often need fewer additional seasonings, simplifying your cooking process even further. Who doesn’t love that?
Essential Ingredients for Your Rotisserie Chicken Creations
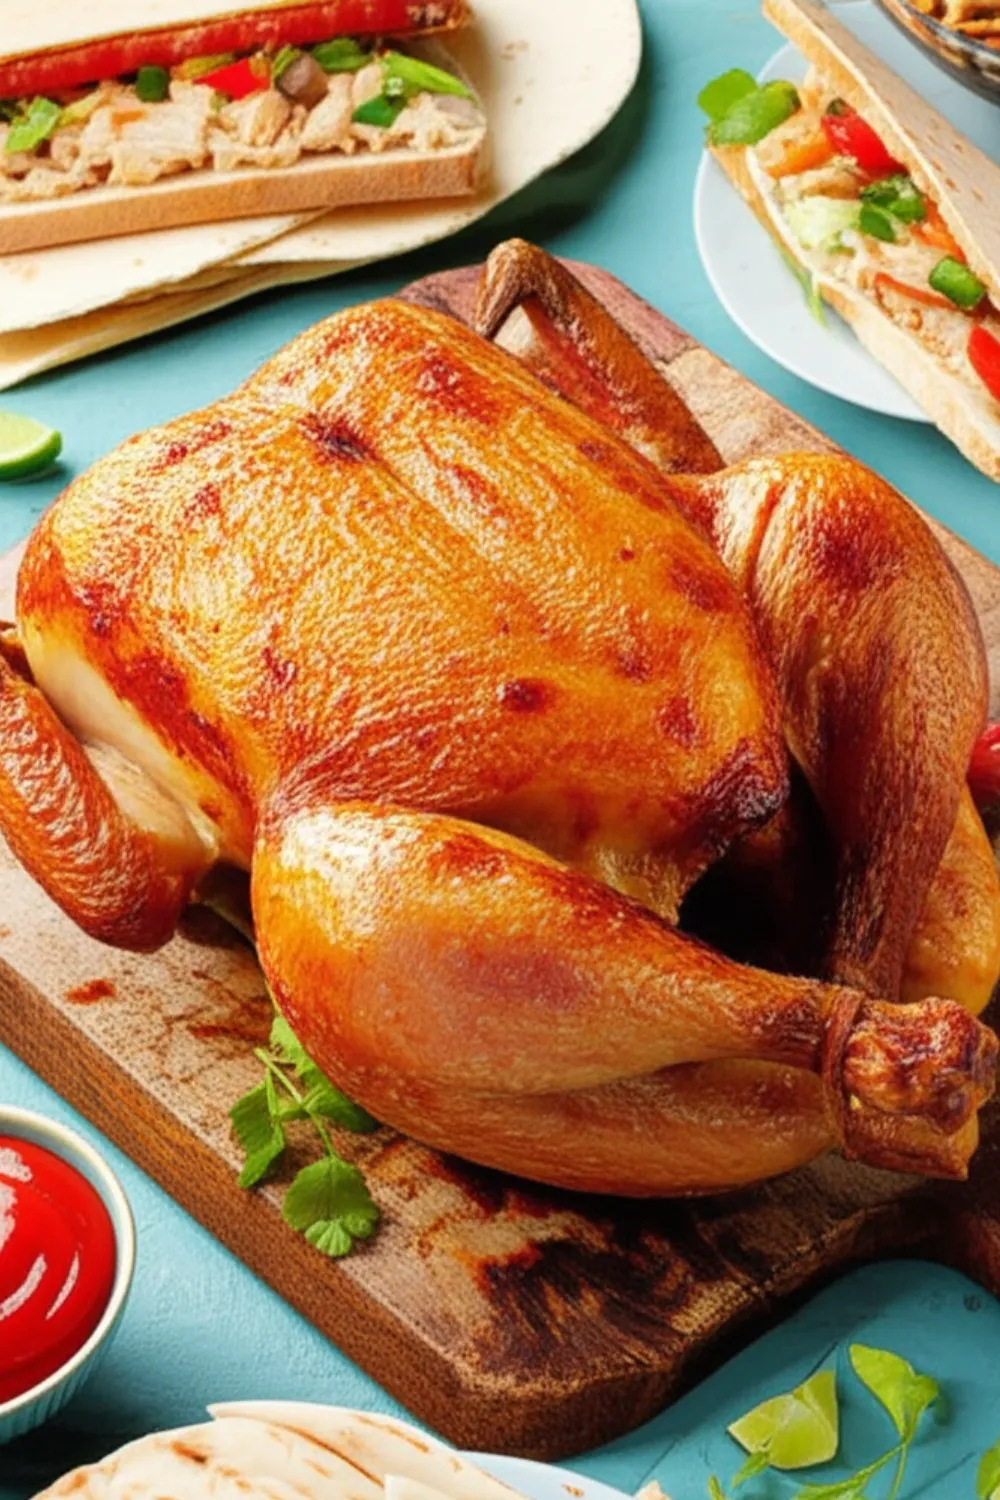
The Star of the Show: Your Rotisserie Chicken
A whole cooked rotisserie chicken (obviously!)
Pantry Staples to Elevate Your Dish
- Olive oil or butter
- Onion and garlic (the dynamic duo of flavor!)
- Vegetable or chicken broth
- A variety of vegetables (bell peppers, spinach, corn, peas, mushrooms, broccoli, etc.)
- Pasta, rice, tortillas, or bread for serving
- Cheeses (cheddar, mozzarella, Parmesan, feta, etc.)
- Herbs and spices (oregano, thyme, cumin, chili powder, paprika, salt, pepper, etc.)
- Sauces (marinara, salsa, buffalo sauce, BBQ sauce, pesto, etc.)
Ingredients Notes
- Rotisserie Chicken: Don’t be afraid to grab one on sale or stock up if you see a good deal! You can always pull the meat off and freeze it for later.
- Onion and Garlic: These are your flavor workhorses. Don’t skip them unless you absolutely have to!
- Vegetables: Use what you have on hand! Frozen vegetables are perfectly fine and just as nutritious.
- Carbs: Get creative with your base. Leftover rice? Perfect. Stale bread? Turn it into croutons!
- Cheeses: Experiment with different cheeses to change the flavor profile of your dish.
- Herbs and Spices: Fresh herbs are wonderful, but dried work just as well. Don’t be afraid to play around with combinations.
- Sauces: These are your secret weapon for transforming a simple chicken dish into something completely new.
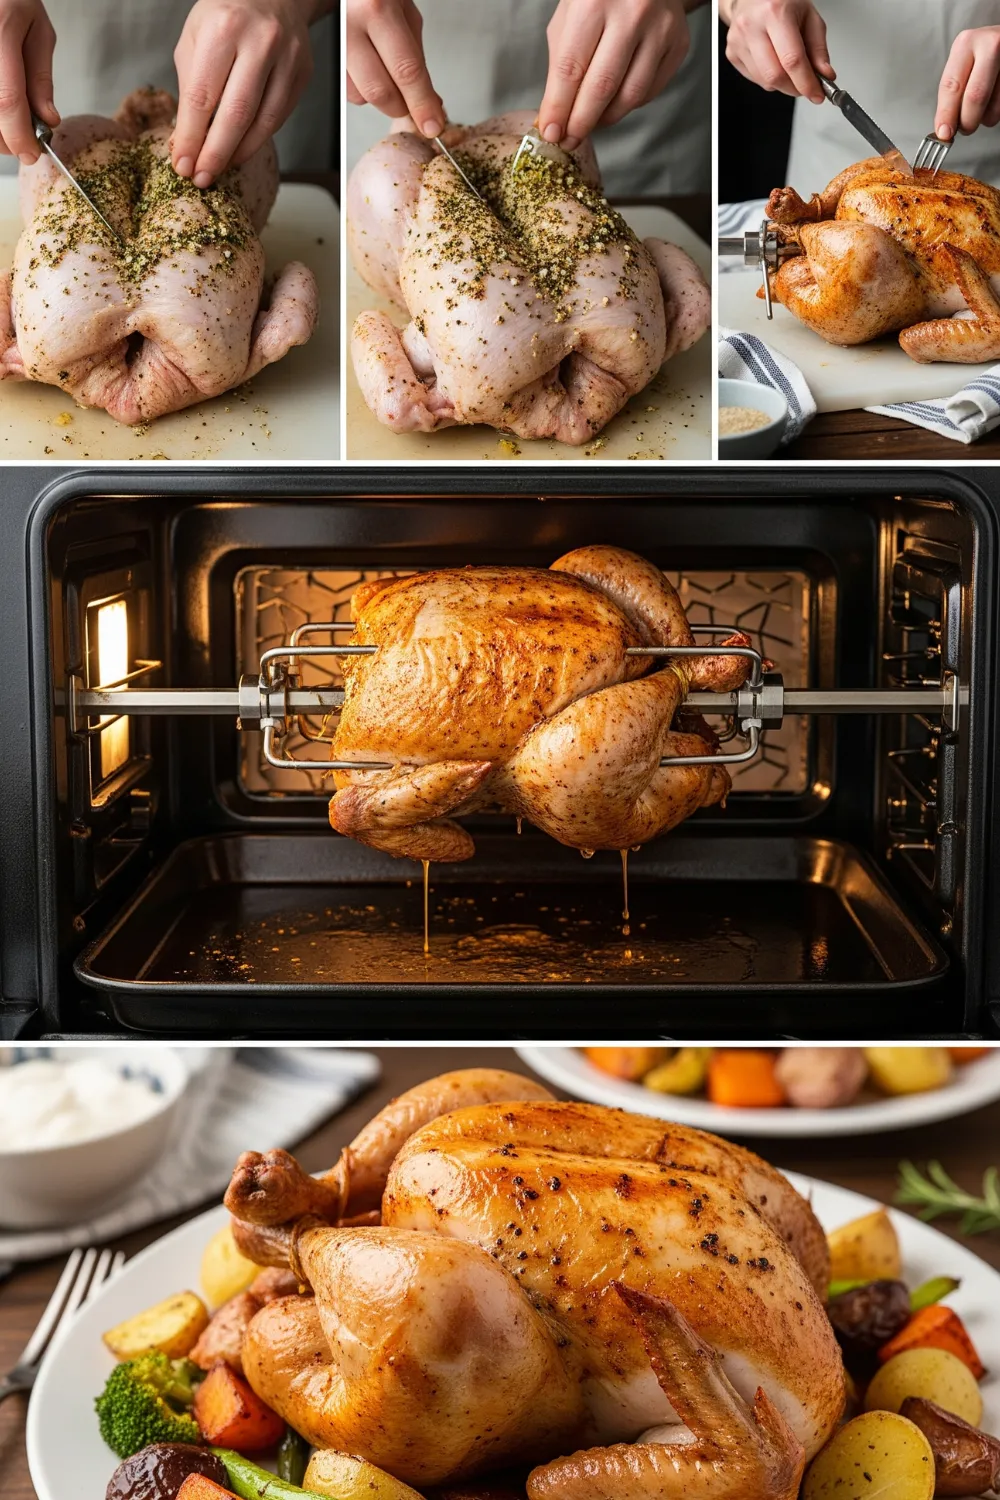
How to Make Amazing Rotisserie Chicken Recipes
Simple Steps to Culinary Success
- Shredding the Chicken: The first step for most recipes is to get that glorious chicken off the bone. The easiest way is to let it cool slightly so it’s easier to handle. Then, simply pull the meat from the bones using your hands or two forks. Don’t forget those little bits of dark meat – they’re packed with flavor! You can shred it into larger pieces or smaller, depending on your recipe.
- Building Your Base: For most recipes, you’ll start by sautéing aromatics like onion and garlic in a bit of olive oil or butter. This builds a foundational layer of flavor that will make your dish truly sing.
- Adding Vegetables and Liquid: Next, toss in your chosen vegetables. Sauté them until they are tender-crisp. If your recipe calls for a sauce or broth, add it in at this stage to deglaze the pan and incorporate all those delicious browned bits.
- Stirring in the Chicken: Once your base is simmering nicely, it’s time for the star! Add your shredded rotisserie chicken and stir to combine. Heat it through, allowing it to soak up all the delicious flavors.
- Finishing Touches: This is where you add your cheeses, fresh herbs, or any other final ingredients that will bring your dish together. Taste and adjust seasonings as needed – a pinch more salt, a dash of pepper, or a squeeze of lemon can make all the difference!
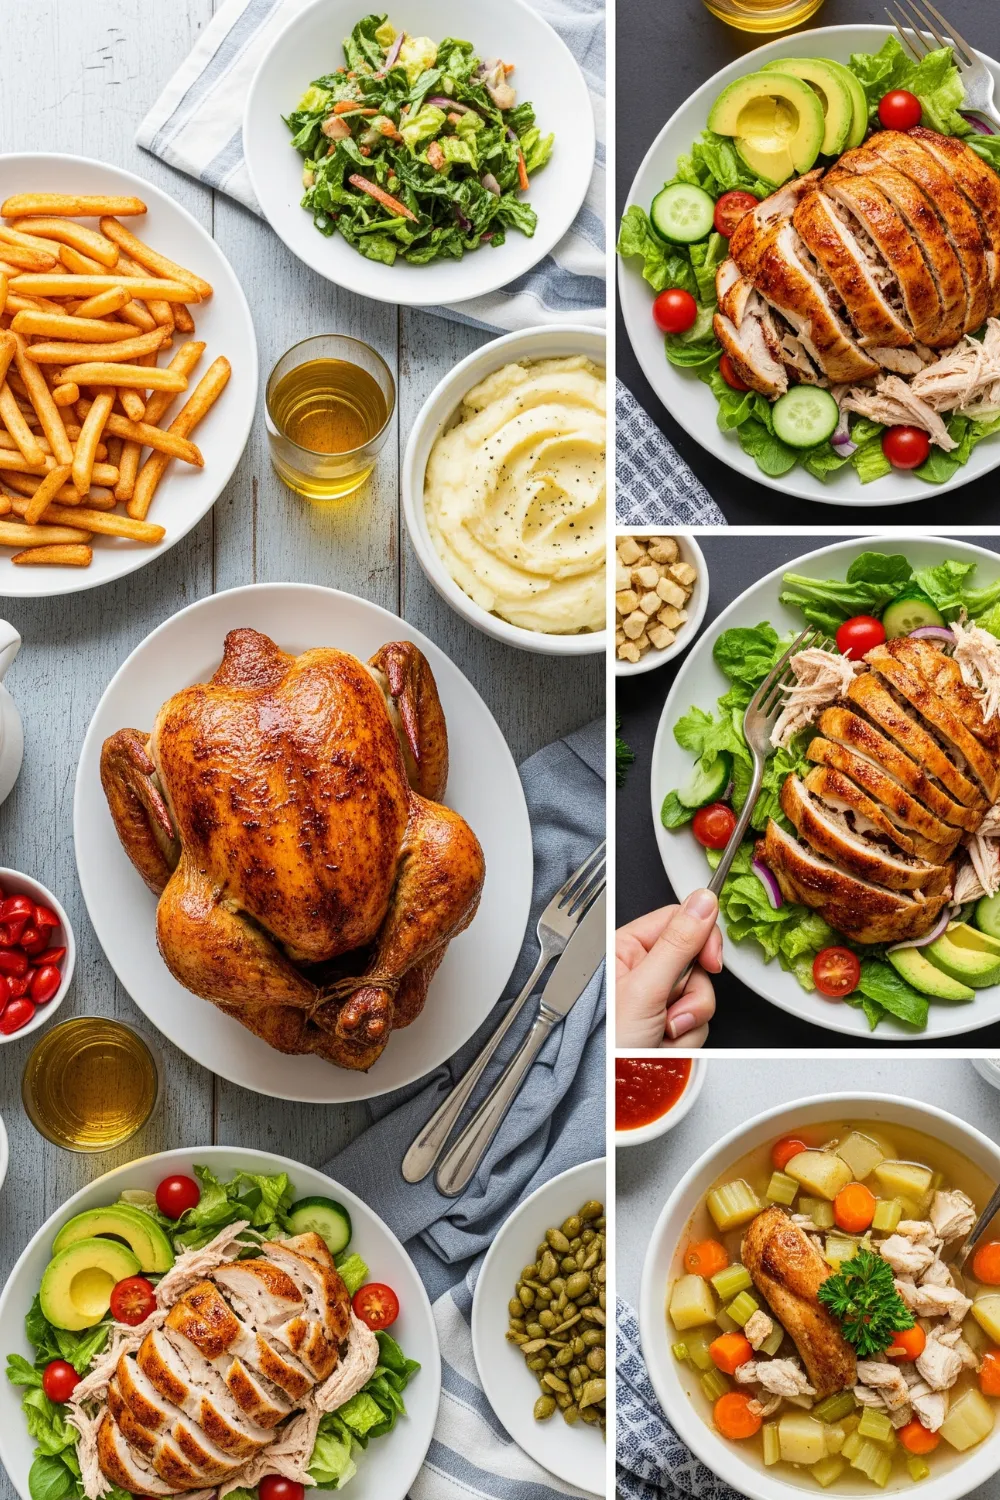
Beyond the Basics: Creative Combinations
- Chicken Quesadillas: Shredded chicken, cheese, and your favorite veggies layered between tortillas and cooked until golden and melty. Serve with salsa and sour cream.
- Chicken Noodle Soup (Quick Version): Sauté some carrots, celery, and onion. Add chicken broth, egg noodles, and shredded rotisserie chicken. Simmer until noodles are cooked.
- Chicken Salad Sandwiches: Mix shredded chicken with mayo, celery, red onion, a touch of mustard, salt, and pepper. Serve on your favorite bread or lettuce wraps.
- Chicken Tacos/Burritos: Toss shredded chicken with taco seasoning, heat through, and serve in tortillas with all your favorite toppings.
- BBQ Chicken Sandwiches: Mix shredded chicken with your favorite BBQ sauce, heat, and serve on buns with coleslaw.
- Chicken Pot Pie (Shortcut): Combine shredded chicken, frozen mixed vegetables, and a creamy sauce (like canned cream of mushroom soup + milk) in a baking dish. Top with a store-bought pie crust or biscuits and bake until golden.
- Chicken and Rice Skillet: Sauté some peppers and onions, add cooked rice, shredded chicken, and a splash of broth. Stir in some cheese and spices for a quick, hearty meal.
- Chicken Pizza: Use a pre-made crust. Top with a light layer of BBQ sauce or pesto, shredded chicken, mozzarella, and your favorite pizza toppings.
- Chicken Stir-Fry: Sauté your favorite stir-fry vegetables, add shredded chicken, and a store-bought stir-fry sauce. Serve over rice or noodles.
- Chicken Pasta Bake: Combine shredded chicken with cooked pasta, marinara sauce, and plenty of cheese. Bake until bubbly and golden.
Storage Options
Cooked rotisserie chicken (or dishes made with it) can be stored in an airtight container in the refrigerator for up to 3-4 days. If you’ve shredded the chicken and don’t plan to use it all right away, you can freeze the shredded chicken in freezer-safe bags or containers for up to 2-3 months. Thaw in the refrigerator overnight before using. This is a fantastic way to meal prep and ensure you always have a head start on dinner!
Variations and Substitutions
Don’t have a rotisserie chicken? No problem! You can easily substitute with any cooked chicken, whether it’s leftover roasted chicken, grilled chicken breasts, or even canned chicken in a pinch. The beauty of these recipes is their flexibility. Feel free to swap out vegetables based on what’s in season or what you have in your fridge. Don’t like bell peppers? Use zucchini! No spinach? Try kale! The same goes for cheeses and sauces. Experiment with different flavor profiles. Want to make it spicy? Add some red pepper flakes or a dash of hot sauce. Prefer a richer flavor? Add a dollop of cream cheese or a swirl of heavy cream. The kitchen is your playground, so get creative and make these recipes your own!
FAQ
Q1: How long does rotisserie chicken last in the fridge? A1: Cooked rotisserie chicken, when stored properly in an airtight container, will last for 3-4 days in the refrigerator.
Q2: Can I freeze shredded rotisserie chicken? A2: Absolutely! Shredded rotisserie chicken freezes beautifully. Place it in a freezer-safe bag or container and it will keep for up to 2-3 months. Thaw it in the refrigerator overnight before using.
Q3: What are some quick dinner ideas using rotisserie chicken? A3: Some super quick ideas include chicken quesadillas, BBQ chicken sandwiches, quick chicken tacos, chicken salad, or adding it to a pre-made soup base.
Q4: Do I need to re-season the rotisserie chicken when using it in recipes? A4: While rotisserie chicken is already seasoned, it’s a good idea to taste your dish as you go and adjust seasonings as needed. Depending on the recipe, you might want to add more salt, pepper, or other herbs and spices to complement the overall flavor profile.
Q5: Can I use different types of cooked chicken instead of rotisserie chicken? A5: Yes, definitely! Any cooked chicken, such as leftover roasted chicken, grilled chicken breasts, or even canned chicken (drained), can be substituted in these recipes.
Conclusion
So there you have it, folks! The incredible versatility of the humble rotisserie chicken. It’s more than just a quick meal; it’s a foundation for countless delicious, easy, and satisfying dishes that will save you time and stress in the kitchen. From quick tacos to hearty pasta bakes, the possibilities are truly endless. By embracing this convenient ingredient, you’re not just making dinner easier; you’re unlocking a world of culinary creativity. So next time you’re at the grocery store, don’t walk past that rotisserie chicken display – grab one, take it home, and let your imagination (and your taste buds!) run wild. Happy cooking!
Print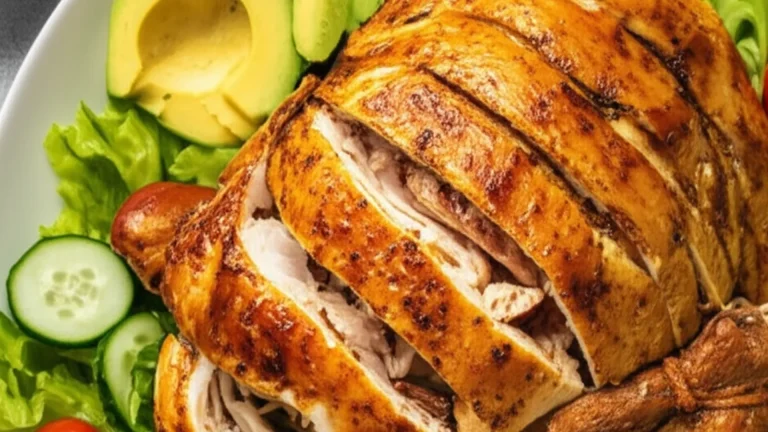
10-Minute Cheesy Rotisserie Chicken Quesadillas
The absolute best way to transform leftover rotisserie chicken into a new, exciting meal! These quesadillas are crispy on the outside, packed with savory seasoned chicken and gooey melted cheese on the inside, and ready in just 10 minutes. This is the perfect fast lunch or easy weeknight dinner for the whole family.
- Total Time: 15 minutes
- Yield: 4 quesadillas
Ingredients
2 cups cooked chicken, shredded (leftover rotisserie chicken is perfect)
4 large (10-inch) flour tortillas
2 cups shredded Mexican cheese blend, divided
½ cup black beans, rinsed and drained (optional)
1 teaspoon chili powder
½ teaspoon ground cumin
2 tablespoons butter or olive oil, for frying
For Serving (Optional):
Sour cream
Salsa
Guacamole
Instructions
- Prepare the Filling: In a medium bowl, combine the shredded chicken, 1 ½ cups of the shredded cheese, the optional black beans, chili powder, and cumin. Use a fork to toss everything together until the chicken and beans are evenly coated in the spices.
- Heat the Skillet: Place a large non-stick or cast-iron skillet over medium heat. Add about ½ tablespoon of butter or oil to the pan and let it melt.
- Assemble the Quesadilla: Place one tortilla flat in the warm skillet. Sprinkle a handful of the remaining cheese over one half of the tortilla, then top with a quarter of the prepared chicken and bean mixture. Fold the empty half of the tortilla over the filling to create a half-moon shape.
- Cook Until Golden: Cook the quesadilla for 2-3 minutes on the first side, pressing down gently with a spatula, until the bottom is golden brown and crispy.
- Flip and Finish: Carefully flip the quesadilla and cook for another 2-3 minutes on the second side, until it is also golden brown and the cheese is completely melted and gooey inside.
- Repeat and Serve: Slide the finished quesadilla onto a cutting board. Repeat the process with the remaining tortillas and filling, adding more butter or oil to the pan for each one. Let the quesadillas rest for a minute before slicing into wedges and serving hot with your favorite toppings.
Notes
Cheese Choice: For the best “cheese pull,” it is always recommended to shred your own cheese from a block. Pre-shredded cheese often contains anti-caking agents that can prevent it from melting as smoothly.
Don’t Overstuff: Be careful not to overfill your quesadillas. A generous but not overflowing amount of filling ensures that everything stays inside and that the quesadilla is easy to flip without making a mess.
The Perfect Crisp: The key to a crispy, non-soggy tortilla is a medium heat and a good quality skillet. A cast-iron skillet works wonderfully for creating a beautiful, even, golden-brown crust.
- Prep Time: 5 minutes
- Cook Time: 10 minutes
- Category: Dinner, Lunch, Quick Meal
- Method: Pan-Frying
- Cuisine: Tex-Mex, American
- Diet: Gluten Free
Nutrition
- Serving Size: 1 quesadilla
- Calories: 520 kcal
- Fat: 28g
- Carbohydrates: 35g
- Fiber: 4g
- Protein: 32g


Leave a Comment